Creating Teams
Teams in Autonify provide a way to organise data sources and collaborate with colleagues. Each team maintains its own set of data sources, configurations, and access controls.
📹 Setting Up Teams
Learn how to create teams for organising data sources and managing collaborative access to your data infrastructure.
Initial Team View
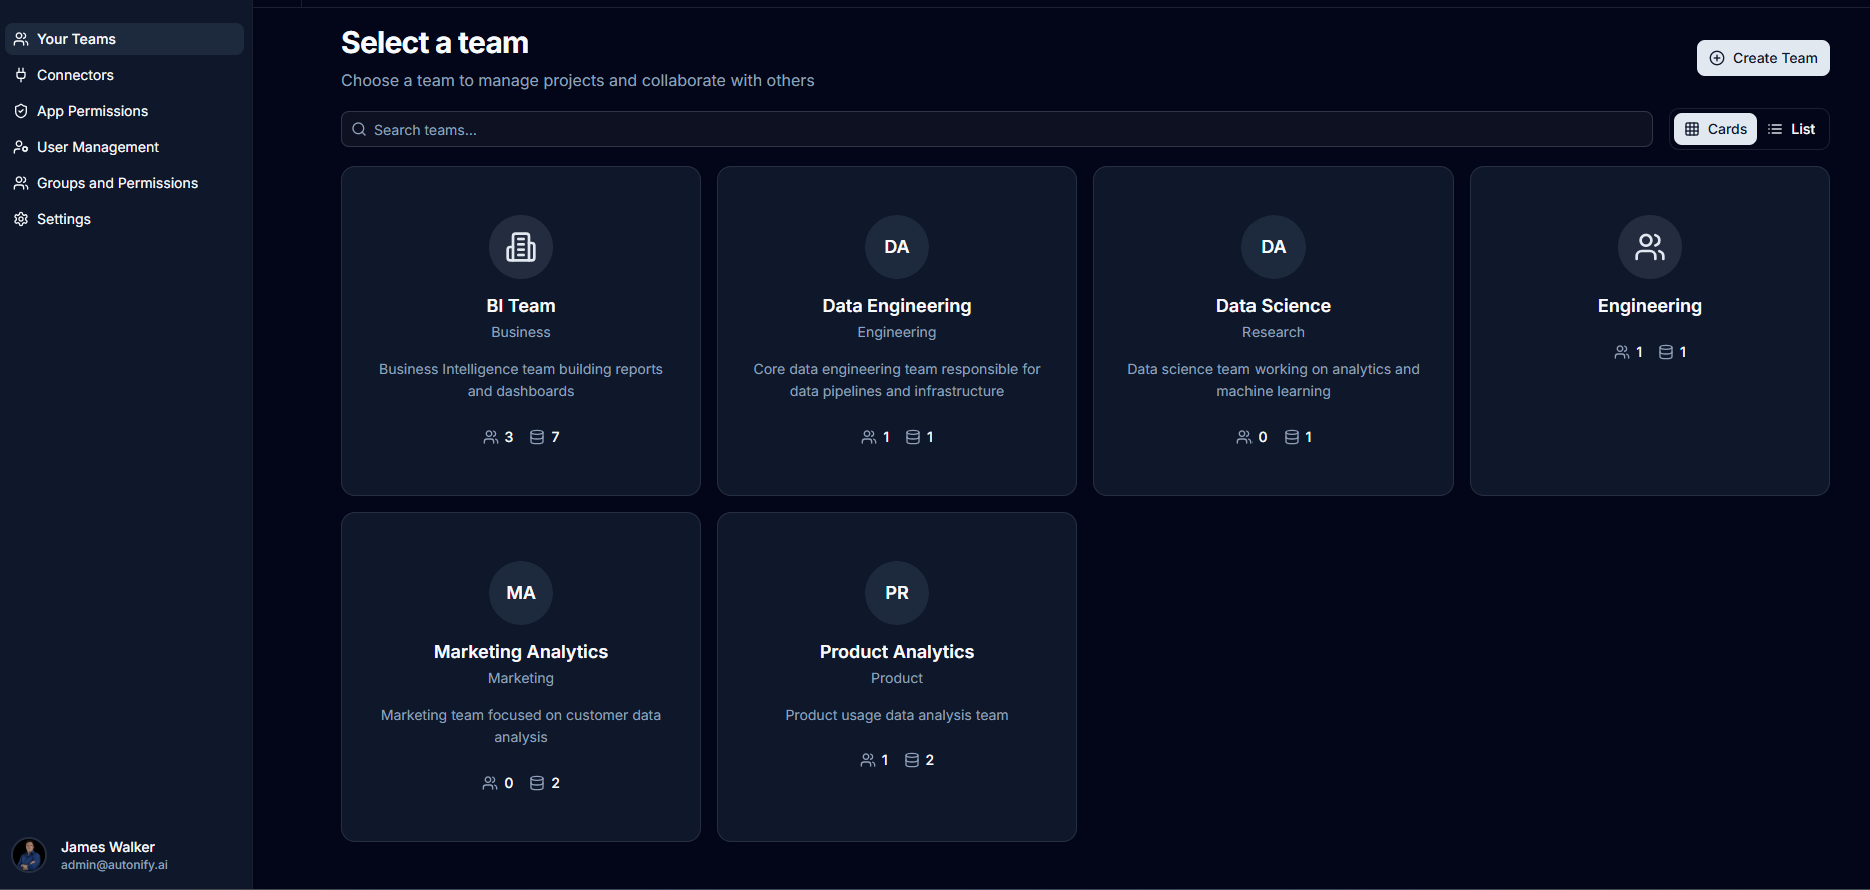
When you first log into Autonify, you are presented with the team selection screen showing all teams you have access to.

Creating a New Team
Step 1: Navigate to Team Creation
- From the team selection page, click the Create Team button
- The team creation modal will appear

Step 2: Configure Team Details
Fill in the following team configuration fields:
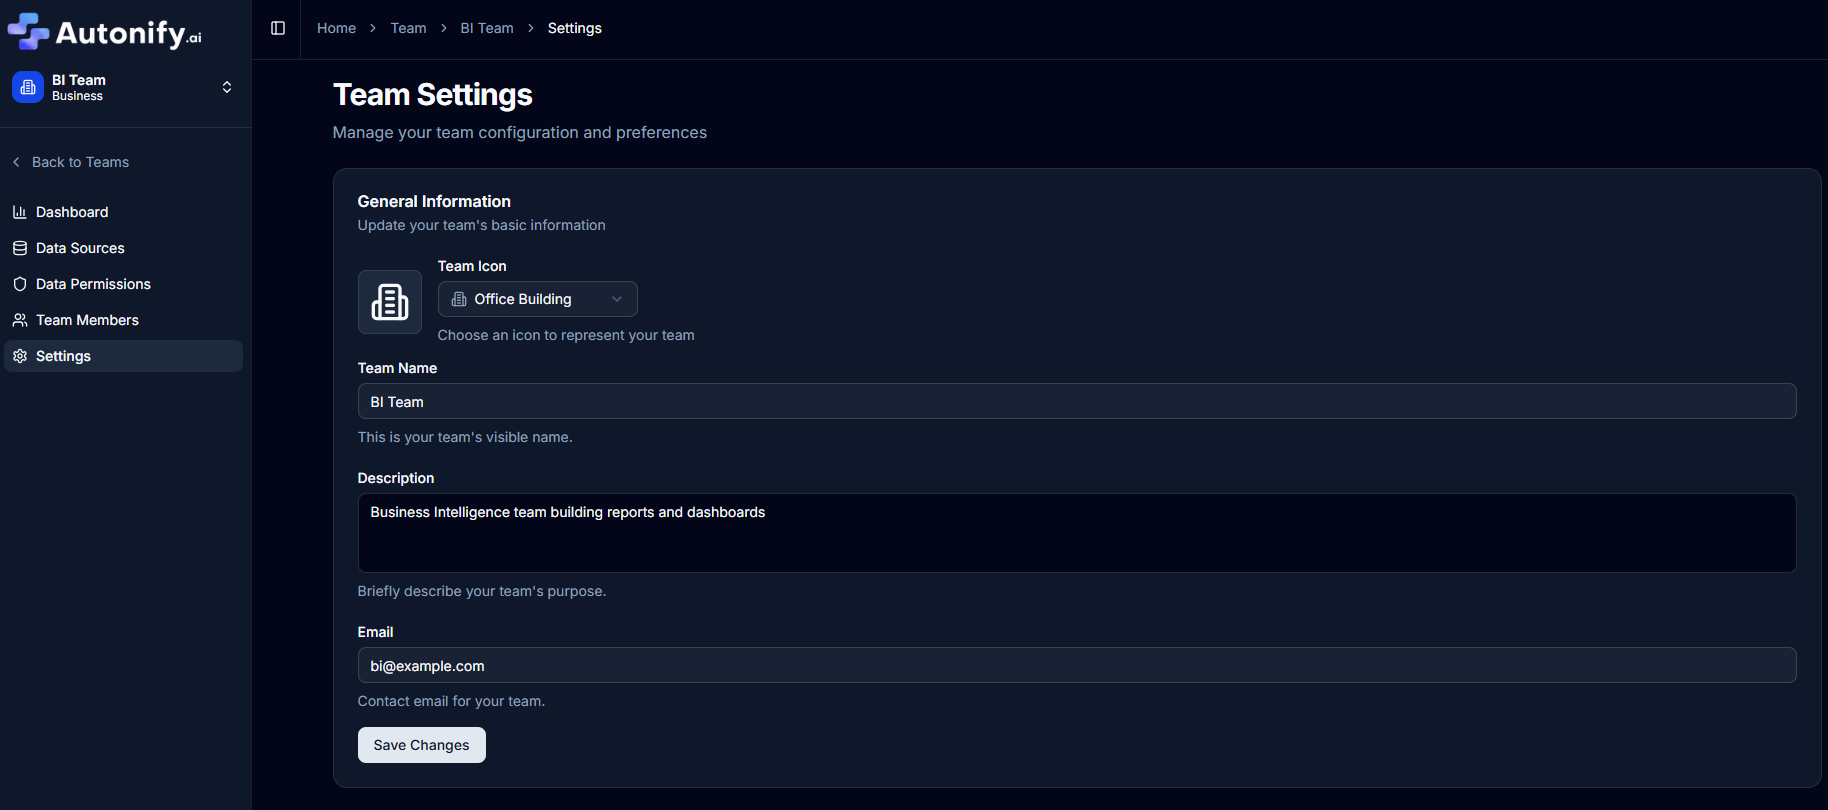
Team Icon
Select an icon to represent your team. Available categories include:
- Business icons (Building, Briefcase, Store, etc.)
- Team icons (Users, Groups, Collaboration)
- Data icons (Database, Charts, Tables)
- General icons (Globe, Network, Dashboard)
Team Name (Required)
Enter a descriptive name for your team (2-50 characters).
- Example: "Data Engineering Team"
Description (Optional)
Briefly describe your team's purpose and responsibilities (up to 200 characters).
- Example: "Responsible for data infrastructure and analytics pipelines"
Team Email (Optional)
Contact email for the team.
- Example: "team@company.com"
Department (Optional)
Which department this team belongs to (up to 100 characters).
- Example: "Engineering"

Step 3: Create the Team
Once the required team name field is completed:
- Click the Create team button
- The team will be created immediately
- You will be automatically added as the team owner
After Team Creation
Automatic Owner Assignment
When you create a team, you are automatically assigned as the team owner with full administrative privileges.
Accessing Your New Team
After creation:
- The page will refresh
- Your new team will appear in the team list
- Click on the team card to access the team workspace
Next Steps After Creation
Adding Team Members
Once your team is created, you can add members:
- Navigate to your team workspace
- Click on Team Members in the navigation menu
- Click Add Member button
- Select users from the dropdown list
- Choose their role (Owner, Admin, or User)
- Click Add Member to confirm
Note: Only Team Admins and Owners can add new members to the team.

Team Roles
Teams support three role levels:
- Owner: Full control over team settings, members, and data sources. Can delete the team.
- Admin: Can manage team members and data sources. Can run AI agents and configure scans.
- User: Can view and query data sources. Cannot run agents or modify settings.
Who Can Create Teams
Any user with application-level permissions (User, Admin, or Owner) can create new teams. When you create a team, you automatically become the Team Owner.
Best Practices
Team Organisation
- Create teams based on functional areas (Engineering, Marketing, Finance)
- Use descriptive names that clearly identify the team's purpose
- Add department information for larger organisations
Team Icons
Choose icons that help users quickly identify teams:
- Use building icons for departments
- Use chart icons for analytics teams
- Use database icons for data engineering teams